OPEN: MON - FRI 8AM - 5PM
Check our current lead time for Cut & Edge orders COLLECTIONS: 8AM - 4PM

Simple step-by-step guide.

How to Measure Walls for Wall Panelling

11 Easy Steps to Measure Walls for Panelling

Measuring for decorative acoustic wall panelling is one of the most important parts of any wall panel installation. Accurate measurements ensure the panels fit properly, look neat and install smoothly.

Walls are rarely perfectly straight. Floors can slope, ceilings can dip and sockets or switches often interrupt the space. If these details are missed, panelling may not fit or may require costly rework.

This guide shows you how to measure walls step by step for a clean, professional fit with your decorative acoustic wall panels.

Take your time, measure carefully and always double-check before ordering.

Step 1: Inspect the Wall First

Before taking any measurements, look closely at the wall.

  • Uneven or bowed surfaces
  • Floors or ceilings that are not level
  • Skirting boards or trims
  • Wall sockets, switches or wall fixtures
  • Radiators or pipes
  • Slanted or angled ceilings
Very few walls are perfectly straight. This is normal, but it means you must measure in more than one place.

Step 1: Inspect the Wall First

Step 2: Measure the Wall Width

Wall width is one of the most important measurements. How to measure the width:

  • Measure the full width at floor level
  • Measure again at the middle of the wall
  • Measure once more near the ceiling
Write down all three measurements. Use the smallest measurement to ensure the panelling fits the tightest part of the wall.

Step 2: Measure the Wall Width

Step 3: Measure the Wall Height

Now measure the height of the wall. How to measure the height:

  • Measure on the left side
  • Measure in the centre
  • Measure on the right side
If the measurements are different, this means the floor or ceiling is uneven. Use the smallest height measurement to avoid panels being too tall.

Step 3: Measure the Wall Height

Step 4: Check if the Wall Is Level and Square

Walls can lean or twist slightly. Check for:

  • Walls leaning forward or backward
  • Corners that are not a perfect 90°
  • Gaps between the level and the wall
Note any uneven areas. You may need shims or filler behind panels in low spots. This helps when fitting or trimming the panels.

Step 4: Check if the Wall Is Level and Square

Step 5: Measure Wall Sockets and Switches

For the best looking wall panelling, it’s important to measure the socket box, not just the faceplate. If possible, remove the plug or switch faceplate before measuring. This allows the panelling to sit neatly behind it for a cleaner finish. How to measure sockets and switches:

  • Measure from the floor to the bottom of the socket box
  • Measure from the nearest wall edge to the edge of the socket box
  • Measure the width and height of the socket box
Tip: When the panelling is installed and the faceplate is refitted on top, the edges are hidden, giving a much cleaner and more professional look.

Step 5: Measure Wall Sockets and Switches

Step 6: Measure Around Doors and Windows

If your wall has doors or windows, they must be measured. Measure:

  • Width of the opening
  • Height of the opening
  • Distance from the floor to the bottom of the opening
  • Distance from the wall edge to the opening
Also note if there are trims or architraves around the opening.

Step 6: Measure Around Doors and Windows

Step 7: Measuring Walls with Slanted or Angled Ceilings

Slanted ceilings are common in lofts and staircases. How to measure angled walls:

  • Measure the height on the left side of the wall
  • Measure the height on the right side of the wall
  • Measure the width of the wall at floor, middle and ceiling level
  • Draw a simple sketch showing the slope
This gives your installer or supplier everything they need for a perfect fit.

Step 7: Measuring Walls with Slanted or Angled Ceilings

Step 8: Measure Corners and Returns

Corners and edges can be tricky because walls are not always perfectly square.

  • Internal corners – these are the corners where two walls meet inside the room, like a regular corner in a bedroom. Think of the corner where you could put a chair.
  • External corners – these are corners that stick out, like the edge of a wall that forms a bump or a box shape. Imagine the corner of a fireplace.
  • Returns – these are short wall sections that come back from a main wall, like the walls on the sides of a window or an alcove. They “return” into the wall space.

How to measure:

  1. Measure each wall section separately.
  2. Note the length of the wall leading to the corner.
  3. Note the edges that meet at each corner so the panels fit perfectly.
  4. If possible, sketch a simple diagram showing corners, returns and measurements.
Measure each section separately and note which edges meet at each corner. This helps ensure the panels fit neatly.

Step 8: Measure Corners and Returns

Step 9: Plan Your Panel Layout

Before ordering, decide how the panels will sit on the wall. Consider:

  • Orientation: vertical or horizontal panels
  • Joints: where the panels meet
  • Symmetry: try to keep panels balanced on the wall
  • Edge panels: avoid very narrow strips at the sides
Layout planning helps prevent awkward cuts.

Step 9: Plan Your Panel Layout

Step 10: Allow for Gaps and Movement

Wall panelling needs small gaps to allow for natural movement and expansion. Remember to allow:

  • A small gap at the floor
  • A small gap at the ceiling
  • Clearance at corners
These gaps are usually covered by trims or skirting boards.

Step 10: Allow for Gaps and Movement

Step 11: Double-Check

Before ordering wall panelling:

  • Re-measure all widths and heights
  • Check socket and switch locations again
  • Review your sketches and notes
If anything looks off, measure it again. Taking the time now can save mistakes and extra costs later.

Step 11: Double-Check

Browse our wall panel collection.

Ready to Buy Your Wall Panelling?

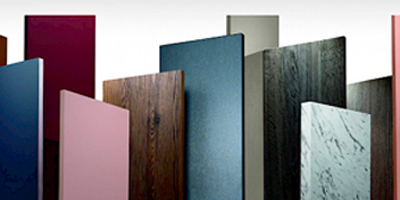
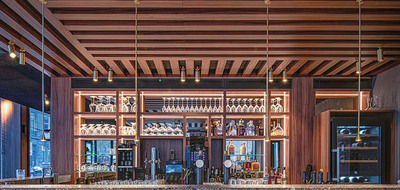
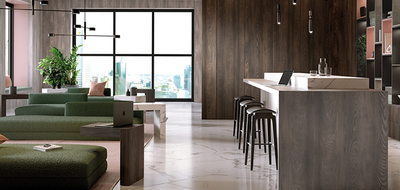
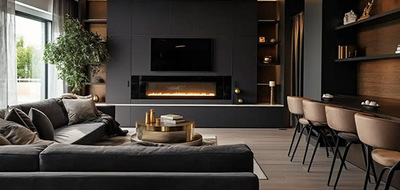
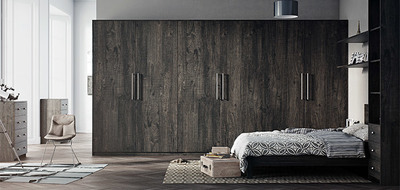
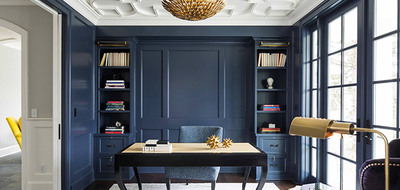
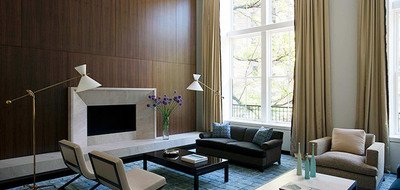
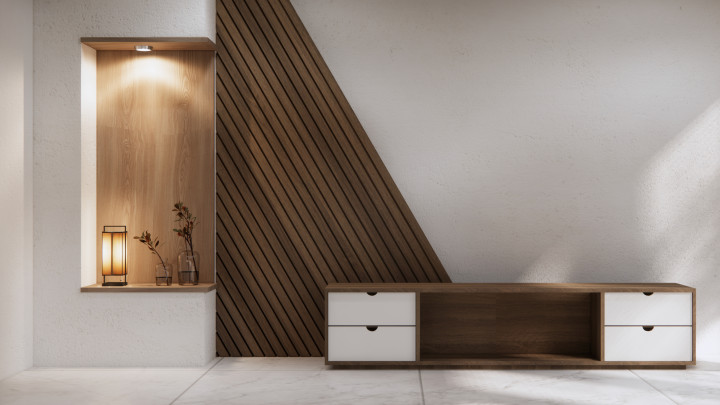
We offer a wide range of decorative wall panels to transform your walls. Whether you want a modern slatted look, luxurious veneered panels or subtle acoustic designs, we have options for both residential and commercial spaces.

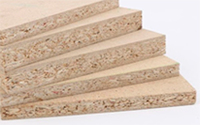
Our panels come in a variety of lengths, widths, thicknesses, textures and finishes, making it easy to match your design vision.

Explore Wall Panels

Everything you need to know about measuring.

Decorative Acoustic Wall Panelling FAQs

How do I calculate how many panels I need?
Should I measure skirting boards and trims?
How do I measure walls connected around a corner or L‑shaped room?
Can I measure diagonally on stairs or angled walls?
What if the wall surface has bumps, cracks, or holes?
Should I measure every wall individually for whole‑room panelling?
Can I mix panel sizes or patterns?
Do decorative features like grooves or bevels affect measuring?